

Sign Board Installation Process: 9 Smart Steps in India
The sign board installation process is where design becomes a real business asset. This guide explains what to expect before, during and after installation — from site survey and wall fixing to wiring, glow testing, warranty handover and maintenance planning.
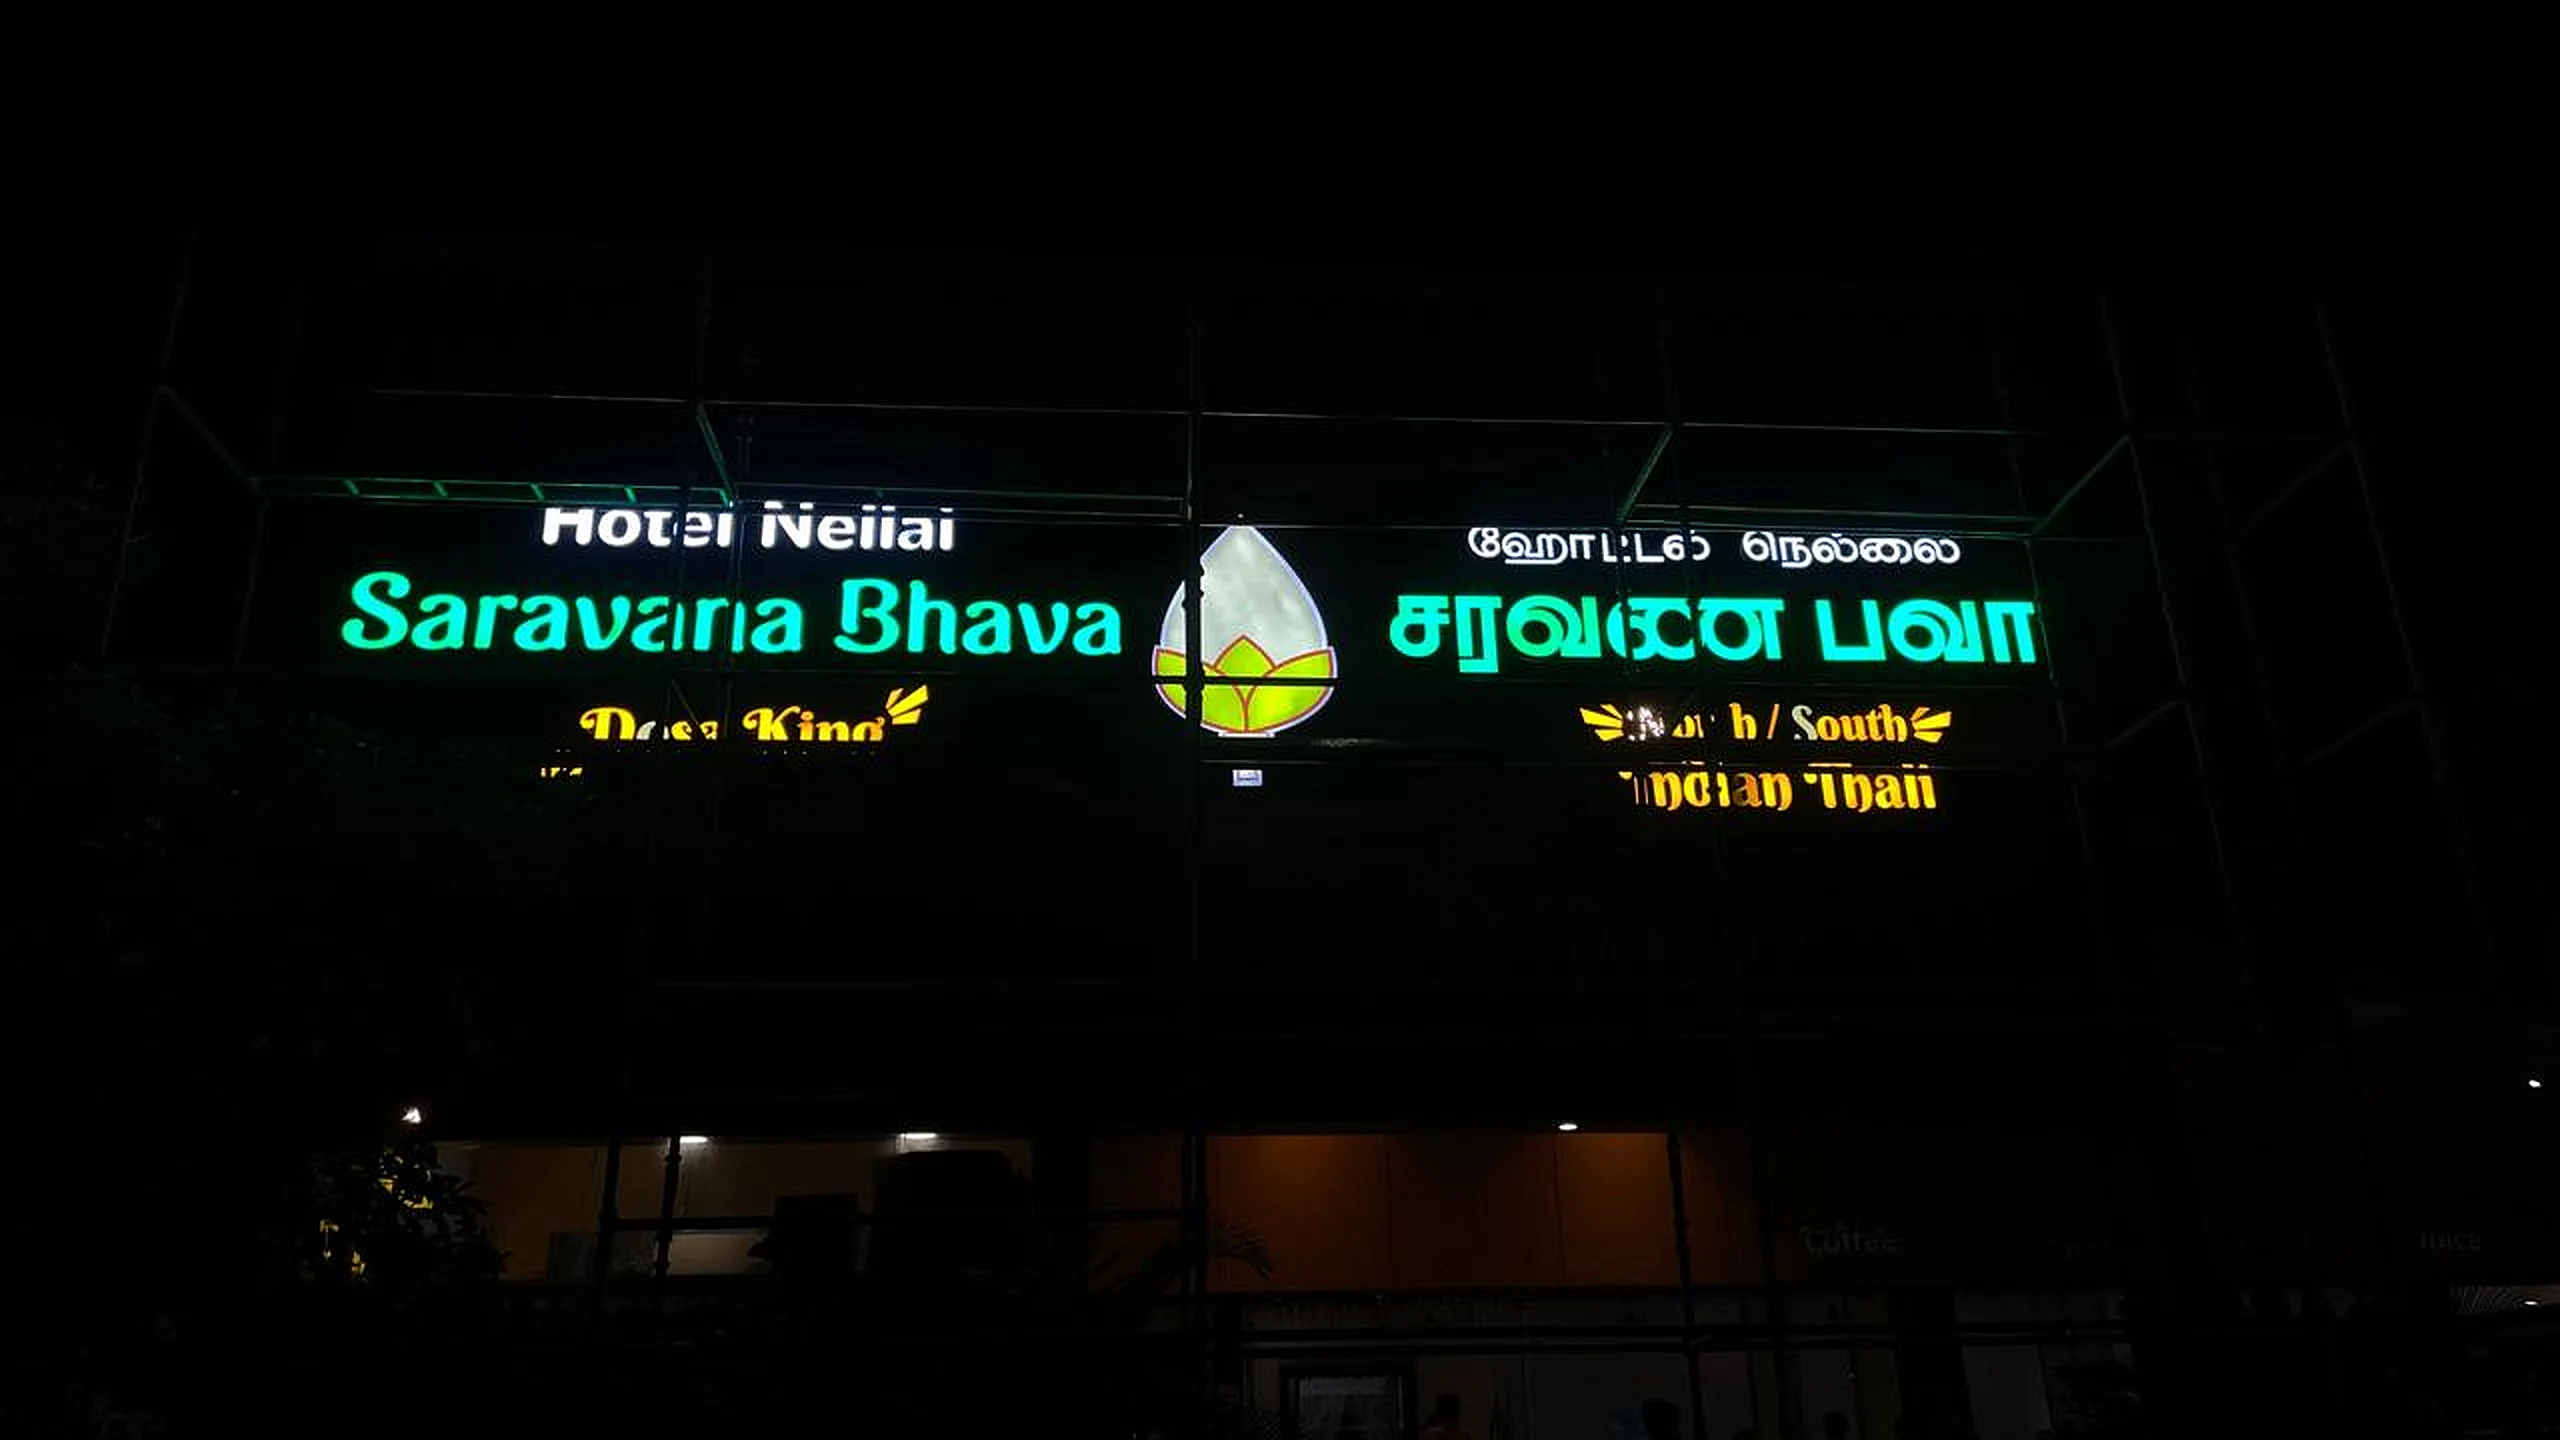
What happens during a professional sign board installation?
The sign board installation process starts with site measurement, wall and height checking, design approval, in-house fabrication, protected delivery, marking, drilling, mounting, wiring, glow testing and warranty handover. A good installer does not simply screw the board to the wall; they check load, waterproofing, SMPS access, visibility, service safety and the long-term durability of the sign.

Reviewed by Mr. Bennir Raja, CEO, BRS SIIGNS
35+ years signage experience. Fact-checked: . Learn more on the BRS SIIGNS About page.
Site survey decides whether the installation will be neat, safe and serviceable
Wall and frontage check
Acrylic letters, ACP panels, 3D metal letters and LED running displays all need different fixing logic. The team checks plaster strength, cladding, glass frontage, shutter clearance, parapet height and available fixing depth before production.
Viewing distance check
Installers check how people will see the board from road level, parking area, opposite footpath or highway movement. This prevents tiny letters, glare problems and signs that look good in artwork but fail on the actual street.
Power and service access
For illuminated boards, the survey must plan SMPS location, wire path, switch access and safe future repair. Electrical work should respect the intent of CEA safety regulations and local electrician guidance.
For LED boards, BRS SIIGNS also checks LED module style, brightness and heat handling against quality expectations supported by BIS LED standards and energy-awareness resources from BEE. A clean survey protects the budget because changes after fabrication can delay installation and increase cost.
Send your building photo before production and avoid last-minute site surprises.
Send Site PhotoThe best installation is mostly won before the team reaches your shop
Professional signage installation starts inside the manufacturing unit. BRS SIIGNS cuts letters, prepares ACP or WPC base, checks LED modules, marks fixing templates, routes wiring channels and protects polished surfaces before dispatch. This is why 100% in-house manufacturing matters: design, production and installation teams can solve alignment, weight and service-access issues together.
If your sign includes GST billing, company name boards or multi-branch branding, keep business documents and invoice details ready. Useful official references include the GST Portal, CBIC GST, Ministry of Corporate Affairs and Udyam portal for business-owner context.
Pre-install checklist
- Final approved artwork and spelling
- Board width, height and mounting height
- Electrical point and switch location
- Wall material and drilling permission
- Access for ladder, lift or scaffolding
- Working time allowed by property owner
- Weather risk for outdoor installation
- Warranty and maintenance contact details
Want BRS SIIGNS to check your artwork, wall and power point before production?
Get ChecklistThe 9-step sign board installation process BRS SIIGNS follows
Survey and measurements
The team measures frontage, wall type, installation height, power access and viewing angle. This fixes the real size, not only the design size.
Design and quote approval
You approve the artwork, material, lighting style, warranty and installation method before production starts.
Fabrication and template marking
Letters, panels, LED modules, acrylic faces and mounting templates are prepared in-house so the site team can install faster.
Protected packing and dispatch
Polished letters, acrylic faces and printed panels are packed to avoid scratches, bending and corner damage during transport.
Marking and drilling
The crew marks the wall with spacing templates, checks level and drills only after confirming alignment from viewing distance.
Frame or base fixing
ACP frame, WPC base, metal bracket, pylon support or modular rail is secured depending on sign weight and wall condition.
Electrical routing
SMPS, wire path, LED polarity and controller access are planned safely, with service access for future maintenance.
Glow and visibility testing
The board is switched on, checked for dark spots, flickering, shadows, brightness balance and night-time readability.
Cleaning and warranty handover
The team removes protection film, cleans the surface and explains warranty, cleaning, repair and maintenance rules.
The sign board installation process becomes smoother when customers keep the wall clear, provide electrical access and confirm spelling before manufacturing. For startups and small businesses, official ecosystems like Startup India, MSME Ministry and Make in India are useful when planning brand rollout, vendor documentation and growth-ready shopfront visibility.
Need installation for LED, 3D, acrylic, modular or flex signage?
Book InstallationWhat a safe installation should check before handover
| Checkpoint | Why it matters | What to ask your vendor |
|---|---|---|
| Wall strength | Weak plaster, hollow blocks or thin cladding can loosen under wind and vibration. | Was the wall type checked before drilling? |
| Anchor and frame selection | Large 3D letters and ACP boards need suitable fasteners, not random screws. | Which anchor or bracket is used for my sign weight? |
| Electrical protection | Poor wire joints and exposed SMPS can cause flicker, water entry or service risk. | Where is the SMPS placed, and can it be serviced later? |
| Waterproofing | Outdoor boards face rain, dust and heat. Joint sealing and drain planning reduce failures. | How are joints, cable holes and LED modules protected? |
| Final viewing test | A board can be straight on the wall but unreadable from the road. | Was it checked from customer walking and driving distance? |
For public-facing signs, readability and access matter too. The Accessible India Campaign and Harmonised Guidelines for wayfinding show why signage should be understandable, visible and accessible for more people. Environmental and waste awareness can also be supported through CPCB and TNPCB references, especially for large retail rollouts and old-board removal.
Safety is not an optional extra. Ask for a proper fixing and electrical plan.
Check SafetyInstallation changes by material, weight and service access
| Sign Type | Installation Focus | Guide Price Context | Warranty Note |
|---|---|---|---|
| LED / neon sign board | LED layout, SMPS location, waterproofing, acrylic depth and night testing. | ₹850–₹3,500 per sq.ft | LEDs 5–7 years; SMPS 2 years. |
| 3D SS / titanium gold letters | Letter spacing template, stud fixing, depth alignment and polish protection. | ₹450–₹3,500 per piece up to 1 ft; larger around ₹1,950/sq.ft | ACP and stainless steel up to 12 years. |
| Acrylic edge signs | Scratch-free handling, edge lighting, even glow and wall-panel cleanliness. | Project-based by size and finish | Acrylic warranty up to 10 years. |
| Modular signage system | Panel sequence, rail alignment, replaceable inserts and wayfinding consistency. | Per panel / system based | Depends on panel material and usage. |
| LED running display | Pixel pitch, controller access, message test, ventilation and display angle. | P4 ₹5,200/sq.ft; P6 ₹4,500/sq.ft; single colour ₹3,500/sq.ft | LED and power-supply warranty applies. |
If your sign uses electronics, standards-aware choices matter. BRS SIIGNS planning references official-quality thinking from the Bureau of Indian Standards, energy-efficiency guidance from BEE and electrical-safety direction from CEA. For digital components and connected controllers, MeitY is also a useful official technology reference.
Not sure which installation method your board needs?
Ask Expert7 mistakes that make sign board installation fail early
1. Starting without a site photo
A quote given without a frontage photo often misses height, access, wiring and wall-condition issues. Send a clear straight photo before finalising.
2. Approving artwork before checking size
Beautiful artwork can fail if letters are too small from the road. Real installation planning checks viewing distance before cutting material.
3. Hiding the SMPS permanently
If the power supply is sealed behind panels without service access, future repair becomes slow and expensive.
4. Using weak anchors
Large letters, ACP panels and pylon signs need weight-appropriate fixing. A fallen sign is a safety hazard and a brand-risk moment.
5. Ignoring rain paths
Water enters through cable holes, top joints and unsealed letter backs. Outdoor signs need sealing and drainage logic.
6. Testing only in daylight
LED sign boards should be checked after dark for hot spots, dim patches, glare and readability.
7. Forgetting warranty handover
Ask what is covered, how long LEDs, acrylic, ACP, vinyl and SMPS are covered, and how to request maintenance.
BRS SIIGNS warranty references include 2 years on flex/vinyl and SMPS, 5–7 years on LEDs, 10 years on acrylic and 12 years on ACP and stainless steel. Read the BRS SIIGNS warranty policy before approving your sign board installation process.
Avoid weak fixing, hidden power supply and untested night visibility.
Avoid MistakesReal installation references from BRS SIIGNS projects
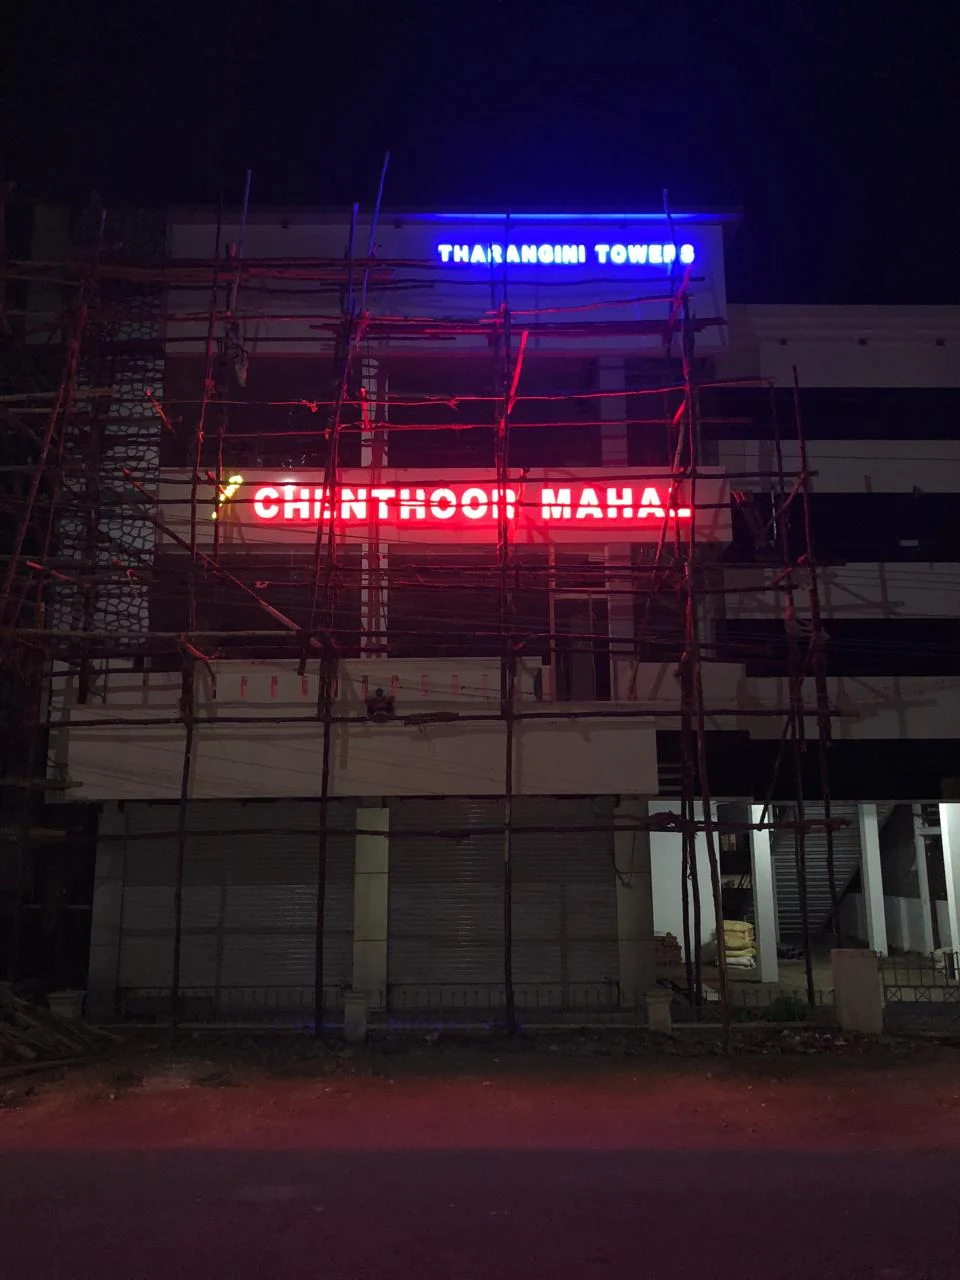
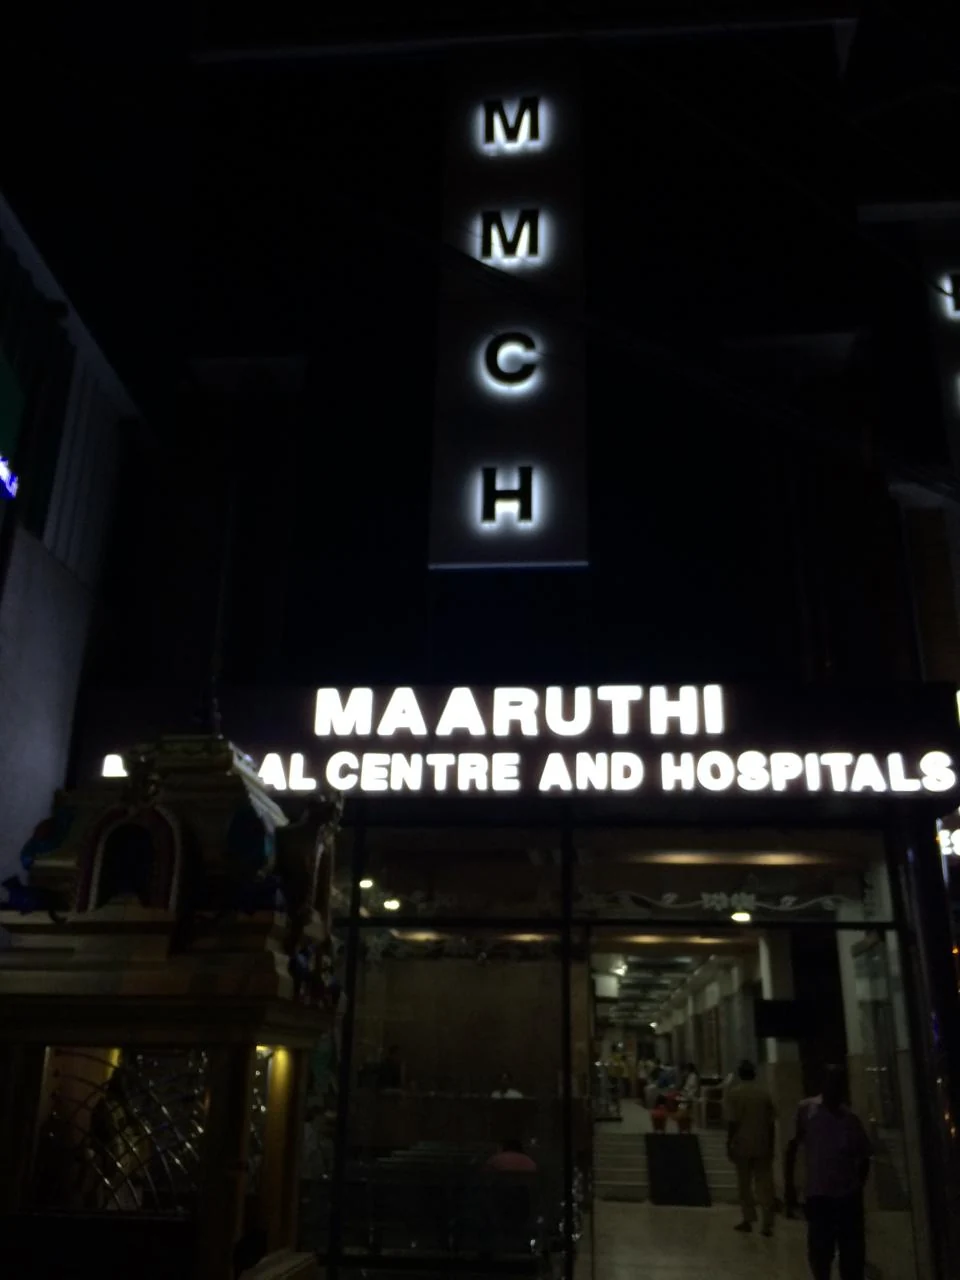
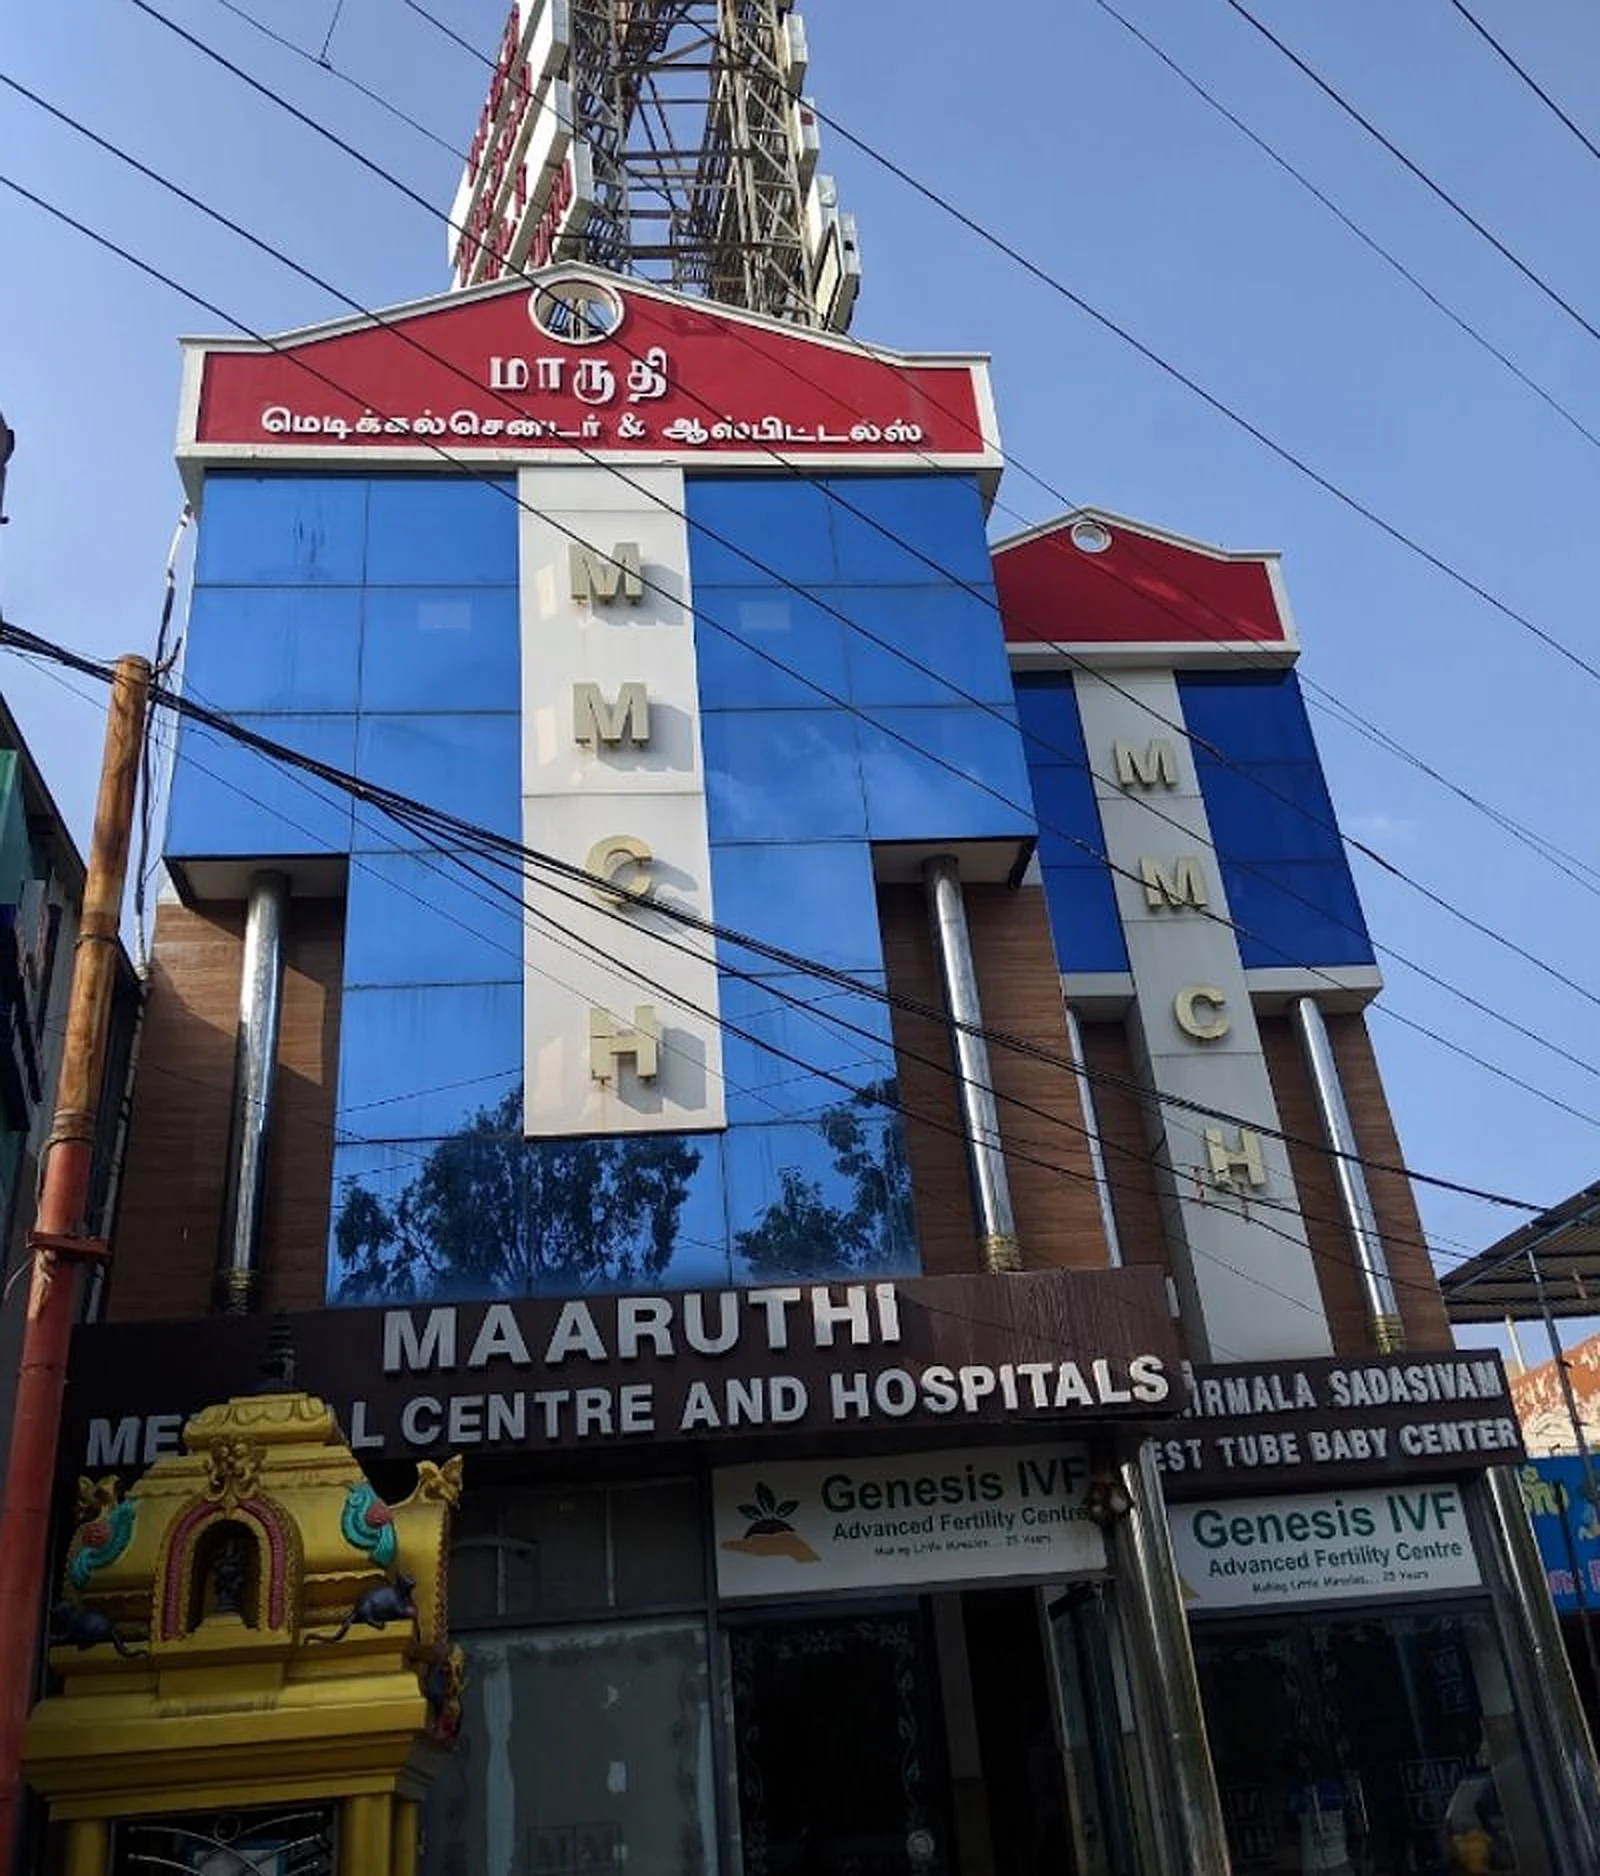
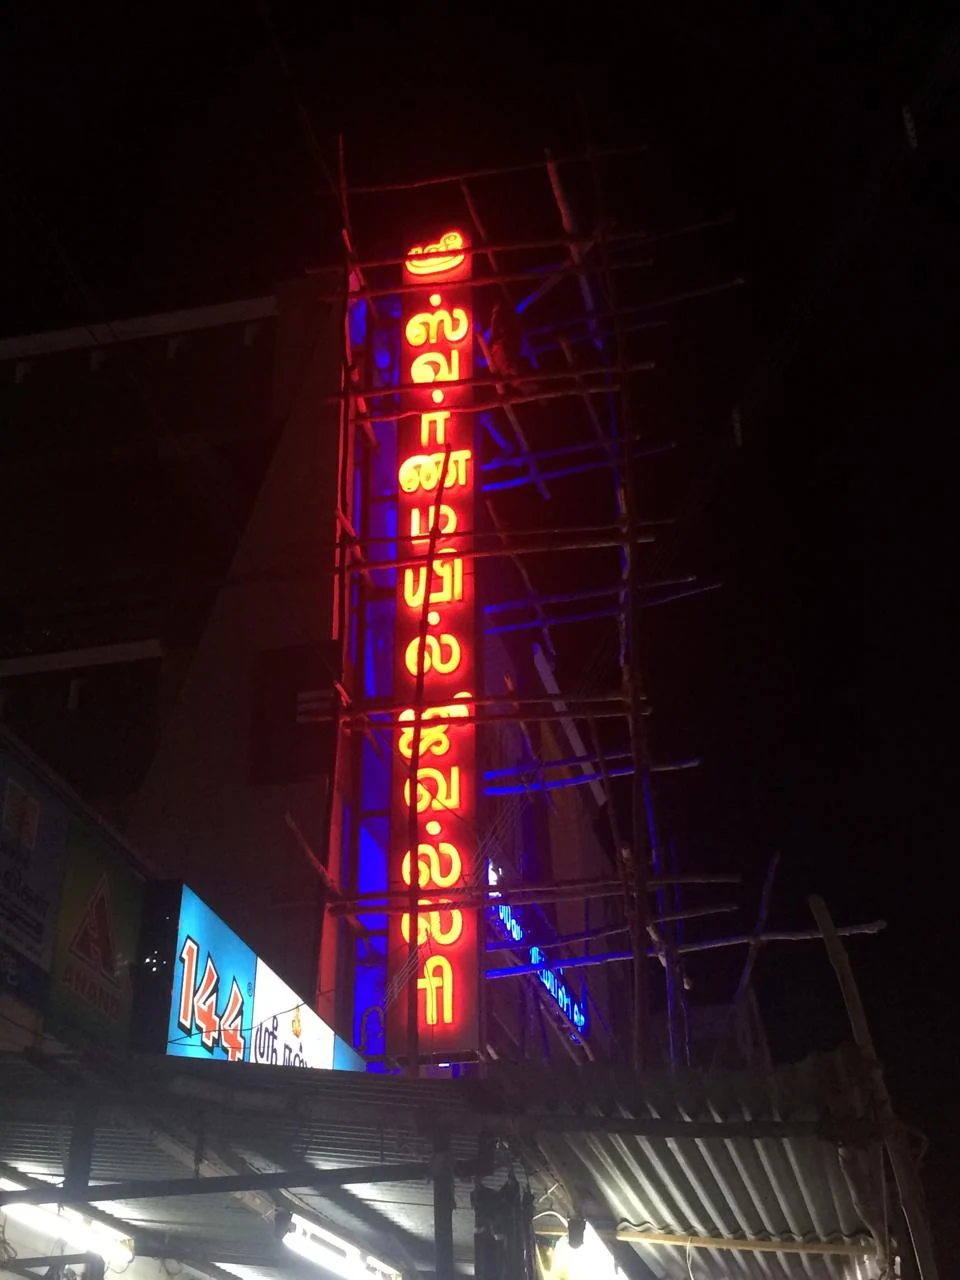
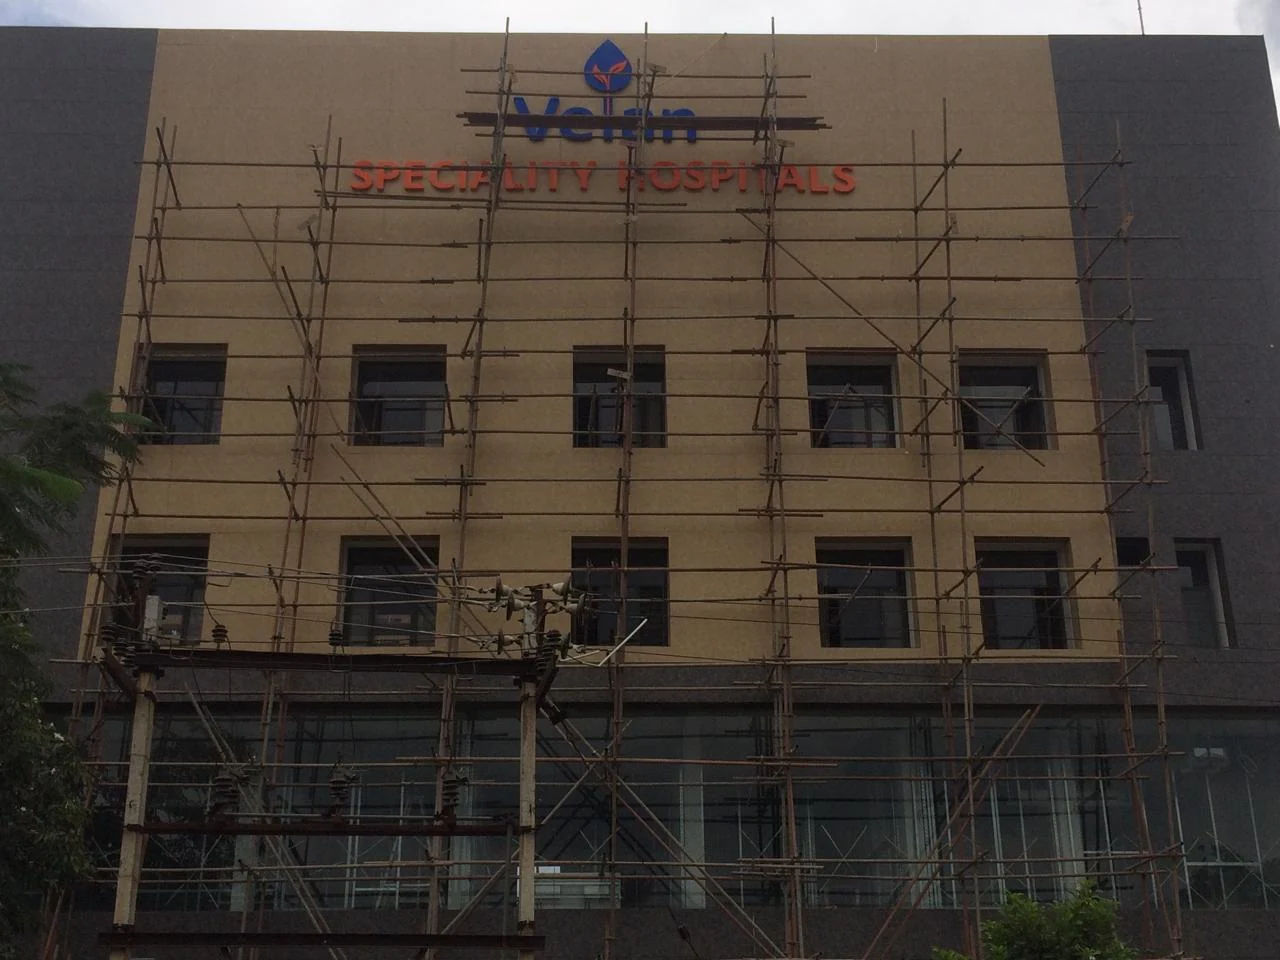
Choose a project style and send your frontage photo for installation planning.
Send ReferencePlan installation with a manufacturer, not just a fixer
BRS SIIGNS is based in Trichy, with branches in Chennai and Nagercoil, and supports signage projects across India based on project size, material choice and installation requirement. The advantage is simple: manufacturing, finishing and installation planning happen under one accountable team.
For larger corporate, retail, franchise or institutional projects, procurement teams may also refer to Invest India, MCA and GST Portal while preparing vendor onboarding, billing and multi-location rollout paperwork.
Share your city, shop photo and sign type for a practical installation plan.
Plan InstallationSign board installation process questions
Small shopfront signs may be installed in a few hours after production. Large LED, rooftop, pylon or multi-board projects need site access, crew planning and safe working time.
Yes. A safe and reachable power point helps the installer route wiring cleanly and place SMPS where it can be serviced later.
Yes, BRS SIIGNS can support projects across India depending on project size, installation complexity and delivery planning.
Send a straight shopfront photo, approximate board size, logo file, location, installation height and whether the sign is indoor or outdoor.
The team checks alignment, glow, wiring, cleaning and warranty handover. You should receive maintenance guidance and support contact details.
Often yes. BRS SIIGNS provides repair and maintenance support depending on condition, component availability and safety of the existing structure.
Get your sign board installation process planned the right way
Send your shopfront photo, logo, board size and location. BRS SIIGNS will guide the fixing method, material, power planning, warranty and installation approach before production begins.